

Why Terraform is the perfect lab companion - and how to use it on AWS!


Have you ever wanted to quickly spin up one or more virtual machines, then take them quickly down afterwards, but have been frustrated by the amount of manual work it is to set up a server, configure ports and make sure it works?
Infrastructure as Code (IaC) is here to save the day!
There are several IaC tools out on the market, available to everyone, Amazon Cloud Formation, Terraform, Pulumi, and to some degree Ansible and Packer all provide a way for you to declare what you want your infrastructure to look like in code, then run a command or playbook, then the tool will set it up for you!
How is this relevant to you in your lab? IaC tools will allow you to very easily declare what you want your infrastructure to look like and very quickly have it available to you, be it in the cloud or even in on-prem environments.
Unlike some of it’s competitors, Terraform is a declarative language, meaning you tell Terraform your desired state, and it will deploy everything to make sure it matches your request. If you say you want two Ubuntu instances, Terraform will spin up two instances for you. However, unlike some other alternatives, if you run the command again - Terraform will not spin up two MORE instances, because it knows two instances already exist. If you manually terminate one instance, then run Terraform again, it will spin up a new single instance, to ensure that the environment matches your desired state. Pretty cool, right?
In addition to being super useful for managing home labs, Terraform is quickly becoming extremely popular in businesses, especially ones moving to the cloud, so learning a bit of Terraform can give you a huge leg up on competitors in your next job search!
Honestly - Terraforms own documentation and tutorials are first-class, and extremely well written, so there really is no good reason to reinvent the wheel here, but even so I will give you the absolute bare minimum you need to get started with your first Terraform project for your home lab.
Installing Terraform
Installing terraform is extremely easy, no matter what operating system you’re on.
MacOS
If you’re on a Mac, you really should get the [Homebrew] package manager. It will make your Mac-life a whole lot simpler.
With Homebrew installed, all you need to do is run:
brew tap hashicorp/tap
This installs the Hashicorp (the makes of Terraform) Homebrew tap, allowing you to download their tools.
Then run:
brew install hashicorp/tap/terraform
To update Terraform (and any other tool you’ve installed through Homebrew), just run:
brew update
After installation, you should be able to run
terraform -help
to verify that Terraform is available in your path.
Windows
If you’re on Windows, you really should get the [Chocolatey] package manager. Just like Homebrew on MacOS, this package manager, can make your life a whole lot simpler.
With Chocolatey installed, just run:
choco install terraform
You can then verify that terraform is working by running
terraform -help
Deploying a simple instance in AWS
Before you can deploy anything to AWS, you need to have the AWS CLI installed and configured with credentials first. If you don’t, Terraform won’t be able to authenticate with AWS. Terraform will look for valid credentials in ~/.AWS/credentials on MacOS and Linux and in %UserProfile%\.AWS\credentials on Windows.
Make a new project where you will run your code out of, and change into it, then create a new file named main.tf
touch main.tf
Open this file in any text editor and add the following configuration:
terraform {
    required_providers {
        aws = {
            source     = "hashicorp/aws"
            version    = "~> 3.27"
        }
    }

    required_version = ">= 0.14.9"
}

provider "aws" {
    profile = "default"
    region    = "us-west-2"
}

resource "aws_instance" "app_server" {
    ami                = "ami-830c94e3"
    instance_type    = "t3.micro"

    tags = {
        Name = "MyTestInstance"
    }
}
This is all you need! For more information about what each individual line does, refer to the AWS documentation, but there are a few key points to take note of here:
region = “us-west-2” We’re deploying this instance in the US-West-2 AWS region.
ami = “ami-830c94e3” This is the AMI or “Amazon Machine Image” we’re using. Keep in mind - this is a static ID for an AMI, and each AMI is only available in a SINGLE region. This means: If you’re trying to deploy this same code in a different AWS region, you need to change the AMI ID to a corresponding AMI from the region you’re using.
instance_type = “t3.micro” is one of the smallest AWS instances, with 2 vCPUs and 1GB RAM. This instance is eligible for the AWS free-tier.
Now, save the file, and return to the command line and run
terraform init
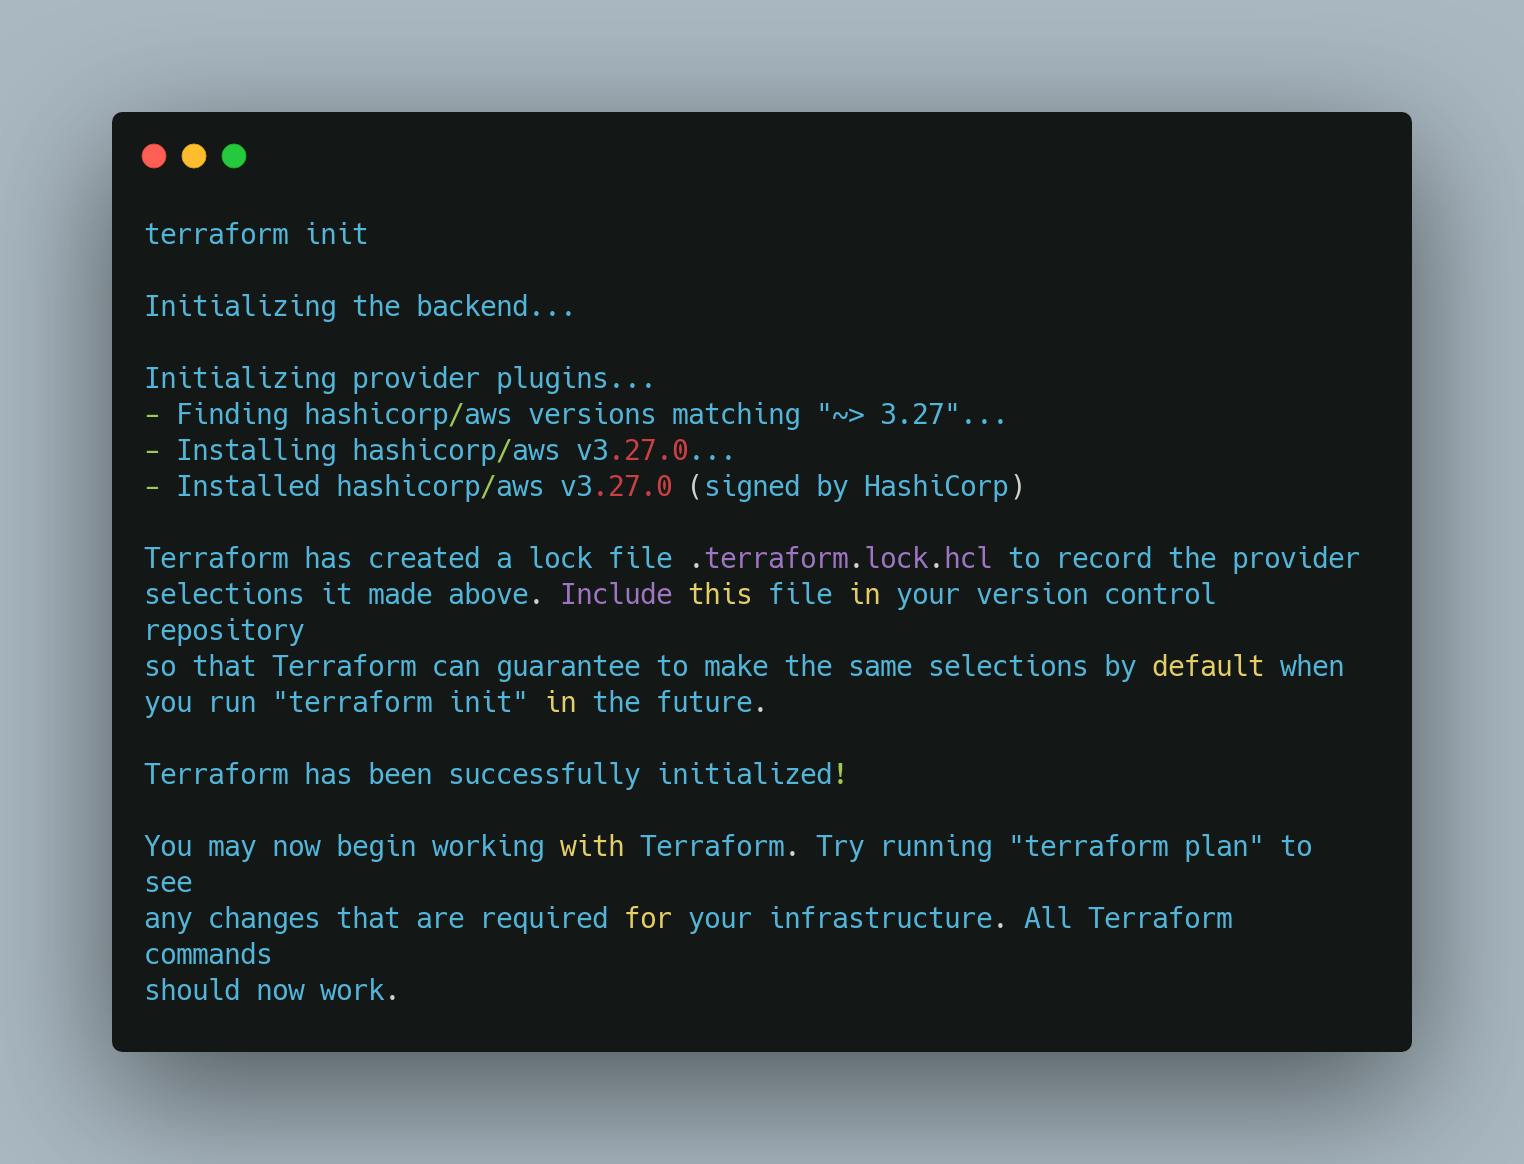
Great! Terraform is ready for use. To deploy, use
terraform apply
Don’t worry, you’ll get a confirmation of what Terraforms plan to do before it actually creates anything.
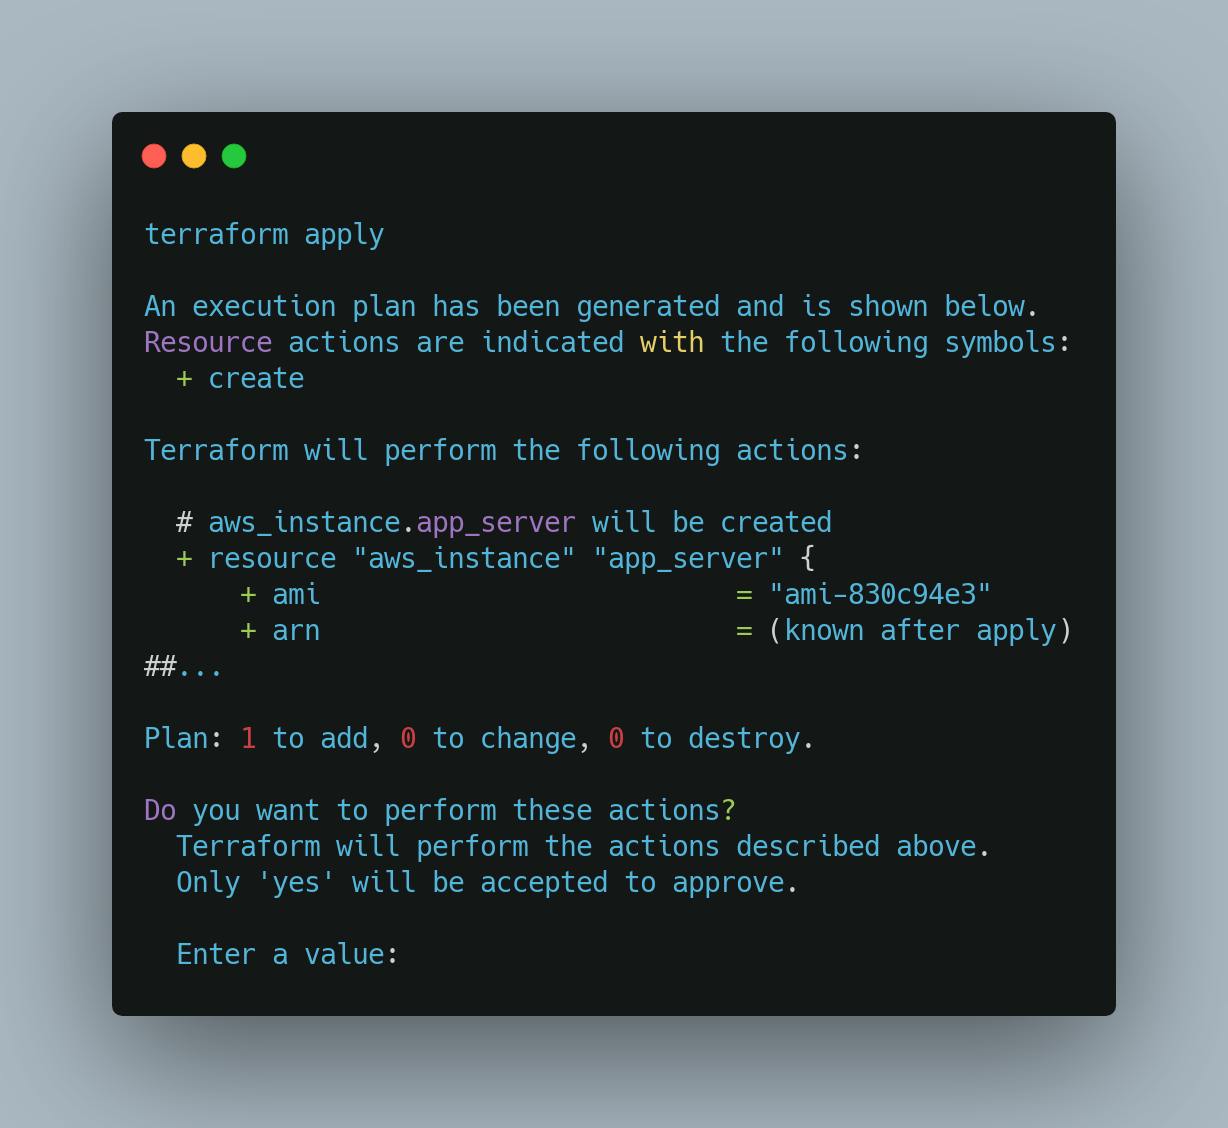
From this prompt, we see that Terraform plans to 1 to add, 0 to change, 0 to destroy. You can see additional information as well. To execute the change, type yes which will tell Terraform to commit the change.
Once it completes, you can run
terraform show
which will show you the current status of your infrastructure.
Amazon Machine Images
As I previously mentioned, when starting up a virtual machine, you need an AMI or Amazon Machine Image. This is a snapshot of a system in time which you can get access to in a multitude of ways. If you just want a clean system, you can use one of the provided images that are available through AWS EC2. If you want a specific piece of software, a lot of companies offer their software such as Cisco Firewalls, N2WS Backup software, pre-configured Kali Linux images and more. Some of these providers charge you extra for the usage, some are free, but if you want - you can also create your OWN AMIs! To create an AMI, you first spin up your base image that you want, then install and configure the machine exactly to your liking - once that is done, you can, through the AWS console or CLI generate a new AMI from that system - a snapshot of exactly what that system looks like at that point in time.
With this in mind - what use can this be to us? Imagine if you regularly spin up a virtual machine with Apache and NGINX that you quickly upload code to, then take it down afterwards. Using an AMI, you can configure Apache and NGINX, then generate an AMI for it, and use that AMI-ID in your Terraform code!
Sample Lab with Apache
Using the example above, here is a primer for your lab. It will spin up TWO EC2, t3.micro instances, using an AMI we assume already have Apache and NGINX configured, opens port 80 and 443 making it available to the internet.
terraform {
  required_providers {
    aws = {
      source  = "hashicorp/aws"
      version = "~> 3.27"
    }
  }

  required_version = ">= 0.14.9"
}

provider "aws" {
  profile = "default"
  region  = "us-west-2"
}

resource "aws_instance" "app_server" {
  count                       = 2
  ami                         = "ami-830c94e3"
  instance_type               = "t2.micro"
  associate_public_ip_address = true
  vpc_security_group_ids      = [aws_security_group.allow_web_traffic.id]

  tags = {
    Name = "MyTestInstance"
  }
}

resource "aws_security_group" "allow_web_traffic" {
  name        = "allow_web_traffic"
  description = "Allow inbound web-traffic"

  ingress {
    from_port   = 80
    protocol    = "tcp"
    to_port     = 80
    cidr_blocks = ["0.0.0.0/0"]
  }
  ingress {
    from_port   = 443
    protocol    = "tcp"
    to_port     = 443
    cidr_blocks = ["0.0.0.0/0"]
  }
  egress {
    from_port   = 0
    protocol    = "-1"
    to_port     = 0
    cidr_blocks = ["0.0.0.0/0"]
  }

  tags = {
    Name = "Allow Web Traffic"
  }
}
We can now apply this using terraform apply and see our lab being created!
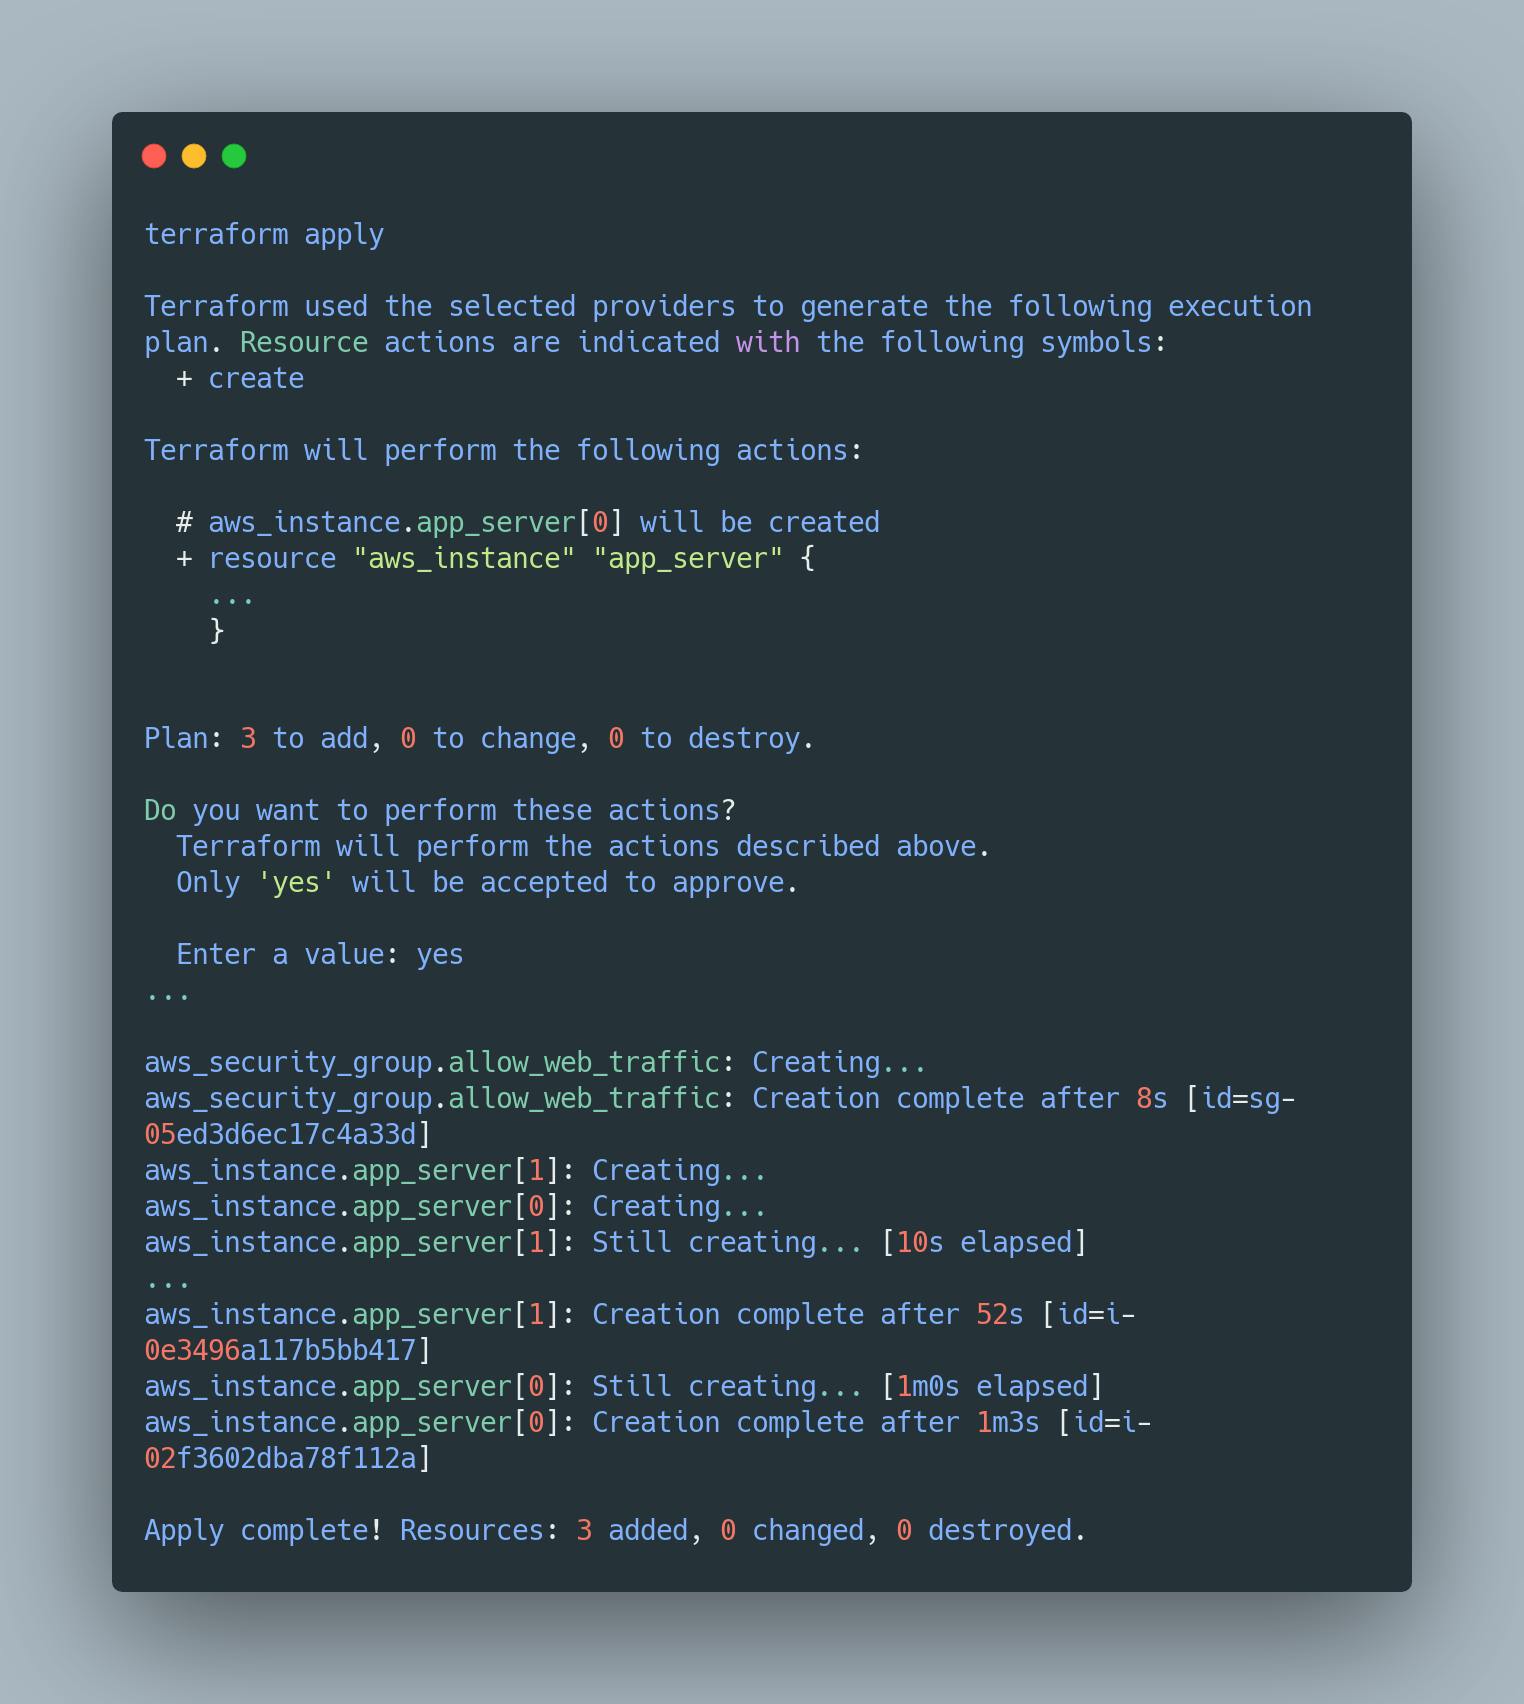
We can also confirm that everything is working as planned in the Amazon console:

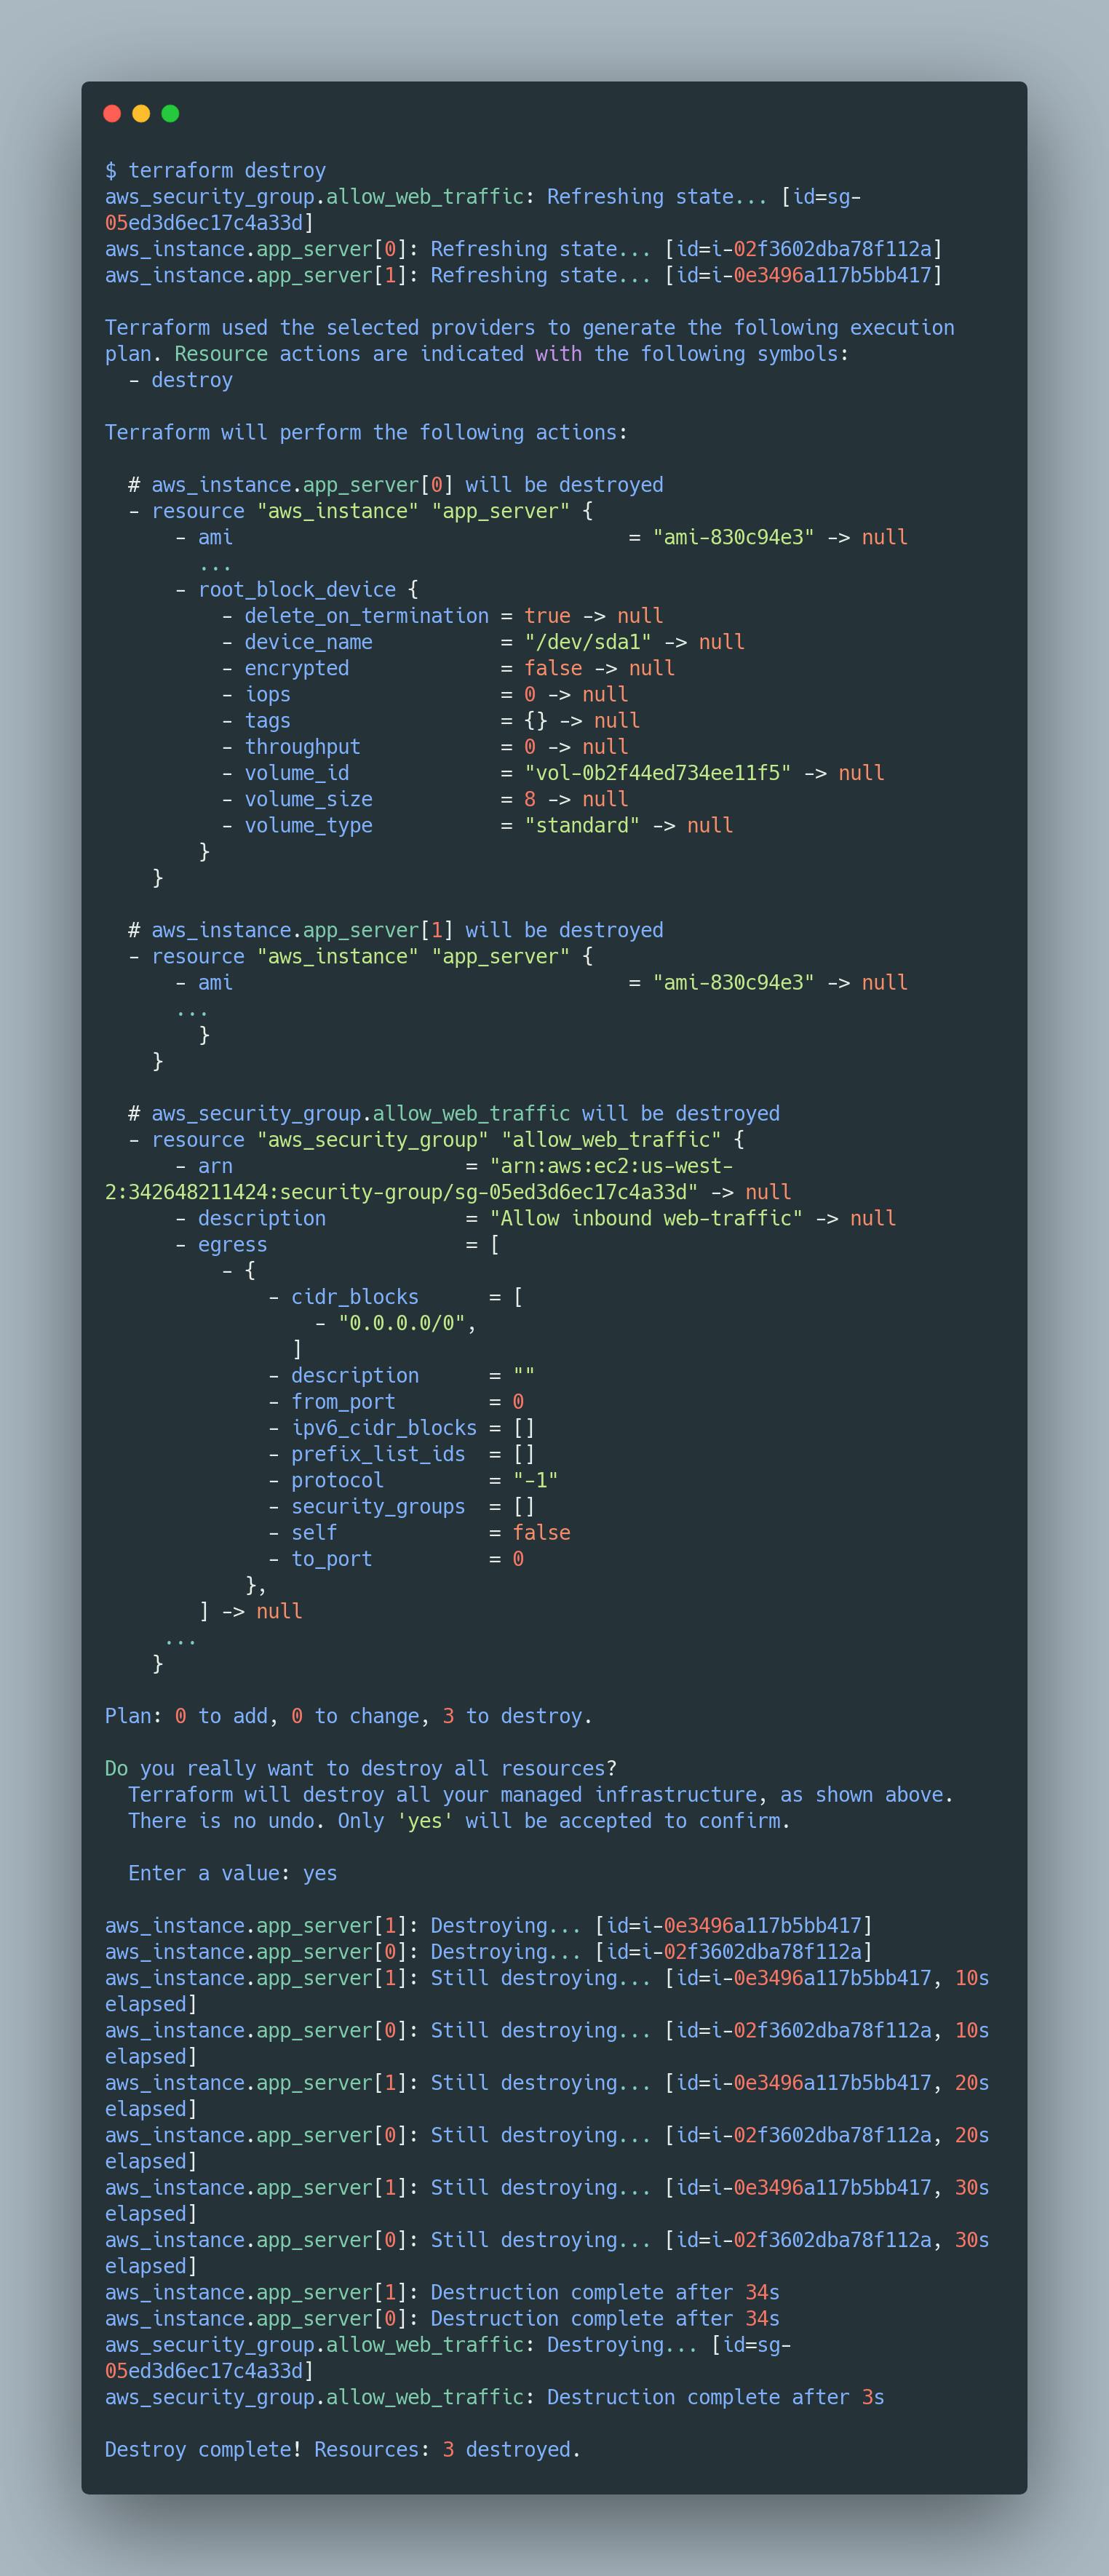
When you’re done, remember to destroy the work using terraform destroy
Don’t worry. If you want it back, just run terraform apply again, and you will be right back to the same starting point! However, any data you created on the server, EBS storage or other sources that gets destroyed will be gone.
Final Thoughts and Suggestions
Terraform is amazing for labbing. This is only an introduction, so make sure to check out Terraforms own documentation - it’s fantastic!
Where do you go from here? I highly recommend you create your own AMIs for what you want to do. It’s super simple to do from the AWS console, and saves you a lot of time. Just remember to keep updating your operating system and updating the AMIs every now and then to keep up with security updates.
This methodology for creating and destroying instances is extremely powerful and allow you to very quickly build an infrastructure, test your problem, then get rid of it. Most of it can be done on Amazons free-tier, and if not, the fact that you are destroying the infrastructure afterwards makes it very cheap.